Hotfix T-Shirt Guide
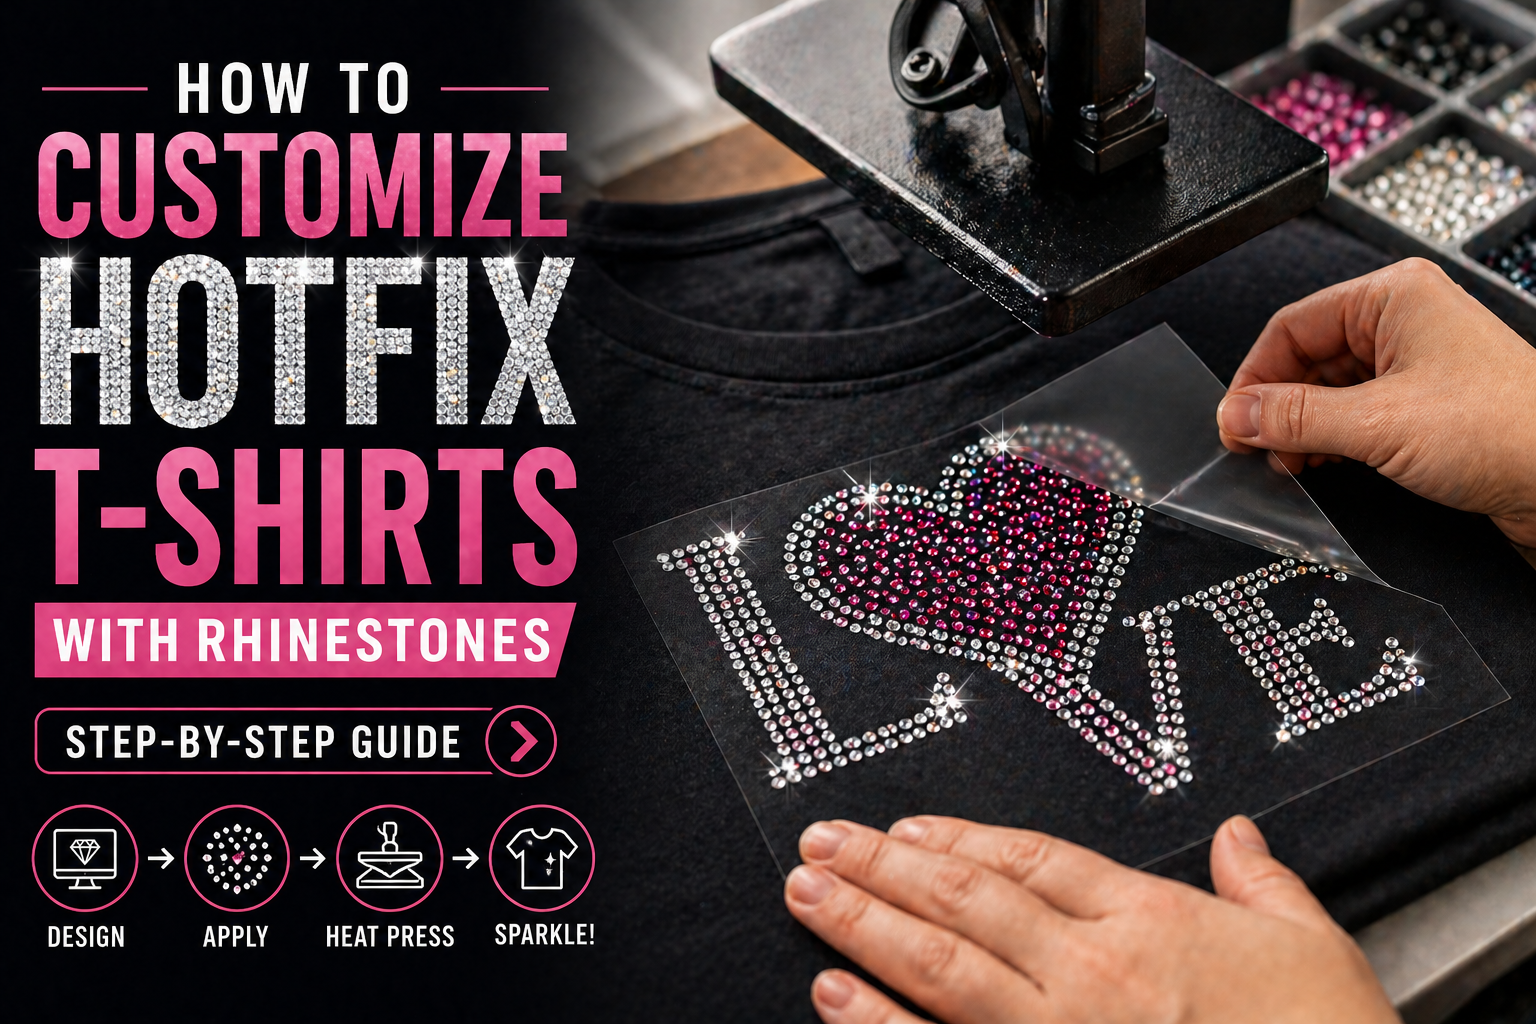
How to Customize Hotfix T-Shirts with Rhinestones
Custom hotfix rhinestone T-shirts are a great way to create sparkling, premium-looking apparel for fashion brands, events, dance teams, boutiques, and custom orders. With the right design, materials, and heat press settings, you can make professional rhinestone T-shirts that look beautiful and last longer.
Quick answer: To customize hotfix T-shirts with rhinestones, prepare your design, arrange the stones on transfer film, position the transfer on the shirt, apply heat and pressure, peel the carrier sheet, and finish with a final press.
What Are Hotfix Rhinestone T-Shirts?
Hotfix rhinestone T-shirts are shirts decorated with rhinestones that have heat-activated adhesive backing. The rhinestones are applied to fabric using heat and pressure, creating a sparkling design that bonds to the garment surface.
They are commonly used for fashion T-shirts, dancewear, cheer apparel, birthday shirts, event merchandise, boutique clothing, team uniforms, and custom brand collections.
What You Need Before You Start
- Blank T-shirt
- Hotfix rhinestone transfer design
- Heat press machine
- Teflon sheet or protective cover
- Flat working surface
- Lint roller or clean cloth
Step-by-Step Guide
Step 1: Choose Your T-Shirt
Select a T-shirt that can handle heat pressing. Cotton, polyester, and cotton-poly blends are commonly used for rhinestone transfers. Make sure the fabric is smooth, clean, and suitable for heat application.
Step 2: Prepare the Rhinestone Design
Create or choose your rhinestone design. Popular options include logos, initials, text, numbers, mascots, fashion graphics, and event designs. The stones should be properly arranged on transfer film before application.
Step 3: Pre-Press the T-Shirt
Place the T-shirt on the heat press and press it for 3–5 seconds. This removes moisture and wrinkles, helping the rhinestone adhesive bond more securely to the fabric.
Step 4: Position the Transfer
Place the rhinestone transfer on the T-shirt with the carrier sheet facing up. Check the alignment carefully before pressing, especially for center chest designs, logos, or large graphics.
Step 5: Apply Heat and Pressure
Cover the design with a Teflon sheet and press using the correct temperature, time, and pressure. Heat activates the adhesive backing, while pressure helps the glue bond into the fabric surface.
Step 6: Cool and Peel
Let the transfer cool slightly, then peel the carrier sheet slowly. If any rhinestones lift, place the sheet back down and press again for a few seconds.
Step 7: Final Press
Cover the design again and press for another 5–10 seconds. This helps secure all rhinestones firmly and improves durability for washing and daily wear.
Recommended Heat Press Settings
| Setting | Recommended Range |
|---|---|
| Temperature | 150°C – 170°C / 300°F – 340°F |
| Time | 10 – 15 seconds |
| Pressure | Medium to firm pressure |
Always test first before bulk production. Fabric thickness, rhinestone size, adhesive quality, and heat press machine can all affect the final result.
Best T-Shirt Fabrics for Rhinestone Transfers
- Cotton: Easy to press and good for everyday T-shirts
- Polyester: Good for sportswear and performance shirts
- Cotton-poly blends: Balanced comfort and stability
- Stretch fabric: Can work, but needs careful testing
Pro tip: Avoid heavily coated, waterproof, or very textured fabrics because they may reduce adhesion.
Design Ideas for Hotfix T-Shirts
- Brand logo rhinestone T-shirts
- Initials or name designs
- Birthday and event shirts
- Dance team and cheer team designs
- Fashion graphics and slogan tees
- Limited-edition boutique collections
Common Mistakes to Avoid
- Skipping pre-press: Moisture and wrinkles can weaken adhesion.
- Low pressure: Rhinestones may not bond properly.
- Incorrect temperature: Too low prevents bonding; too high can damage adhesive.
- Peeling too early: Stones may lift before the glue sets.
- No sample testing: Always test before making bulk orders.
How to Care for Rhinestone T-Shirts
Proper care helps your rhinestone T-shirts stay shiny and secure for longer. After pressing, allow the adhesive to fully settle before washing.
- Wait 24 hours before washing
- Turn the T-shirt inside out
- Use gentle wash cycles
- Avoid bleach and harsh detergents
- Air dry or use low heat drying
Best For
Fashion brands, boutiques, dancewear, cheer teams, event shirts, and custom apparel businesses.
Main Benefit
Creates a sparkling, premium, eye-catching design with a professional heat-pressed finish.
Final Thoughts
Customizing hotfix T-shirts with rhinestones is a simple and effective way to create premium apparel with sparkle and personality. The key to success is using the right design, correct heat press settings, and proper washing care.
Whether you are creating shirts for a brand, event, dance team, or boutique collection, rhinestone transfers can help your designs stand out and feel more valuable.
Need Custom Hotfix Rhinestone T-Shirts?
Teebling provides custom hotfix rhinestone transfers for T-shirts, hoodies, dancewear, event apparel, boutiques, and fashion brands. We support custom designs, fast sampling, and business production orders.
Get a Quote