Artwork preparation

3D Silicone-Style Label Artwork for Mold Review

Prepare dimensional label artwork with separated relief levels, readable fine details, edge dimensions, and a revision-controlled proof.

Buyer perspective

A mold discussion should begin with geometry that can be reviewed at the label's actual size. A colorful mockup alone does not tell a supplier which surfaces are raised, which areas remain open, or how the outer edge should finish. This guide turns an artwork file into a set of explicit review questions.

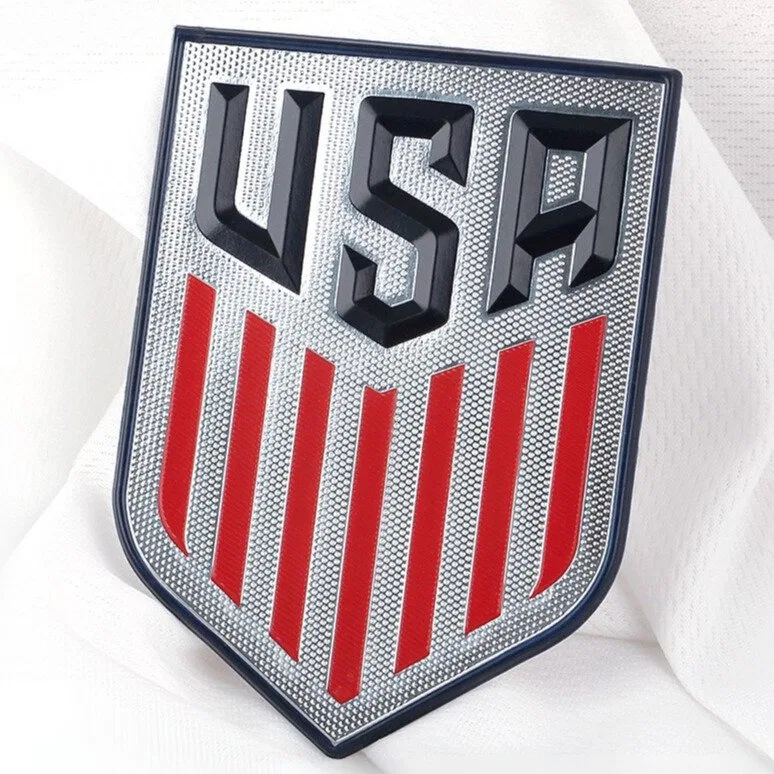
Raised silicone-style label reference used to discuss artwork relief
Product reference image; confirm your own artwork, material, and placement in a sample.

Approval gate

Artwork-to-sample approval gates

Separate proof of the geometry from approval of the physical material. Each gate answers a different question.

  • Vector gate

    All relief regions, edge paths, colors and final dimensions are explicit; no critical shape is buried in a flattened screenshot.

  • Scale gate

    The one-to-one proof keeps letter openings and narrow gaps readable at the actual placement size.

  • Physical gate

    The sample matches the accepted hierarchy and looks right on the receiving item, including the edge and attachment.

Record revisions between gates. A change to the relief drawing invalidates approval of the earlier physical sample.

What to decide

Build a brief that can be tested

Focus 1

Separate visual planes

Supply editable vector paths for the outline, base field, lettering, and accent shapes. Label each intended height role and show a monochrome version. The supplier can then identify details that may merge or disappear before anyone approves tooling.

Focus 2

Check fine features at scale

Print the mark at its intended width and inspect counters inside letters, narrow channels, pointed tips, and isolated islands. Ask for a feasibility review where the drawing relies on tiny spaces. Record approved simplifications in the revision log.

Focus 3

Define the outside boundary

Give the complete width and height including border. State whether the edge should trace the logo or sit within a regular badge. Include the proposed product and attachment route, because the boundary is not only a graphic choice.
Bring to the inquiry

  • Editable layers and final dimensions
  • Monochrome relief diagram
  • Critical fine details marked
  • Artwork revision and receiving product
Wholesale Inquiry

Request a Bulk Quote

Send your artwork, quantity, destination, and specifications for a tailored quote.

By submitting, you agree to our privacy policy.