Under
Compact
Under 2 in
Common uses
Sleeve accent, cap placement, bag trim, pocket detail
Fine lettering and small counters approach resolution limits. Confirm minimum line width.
The correct patch size is determined by the garment zone, available area, viewing distance, and the level of design detail — not by a general small, medium, or large category. Set the placement first, then the size.

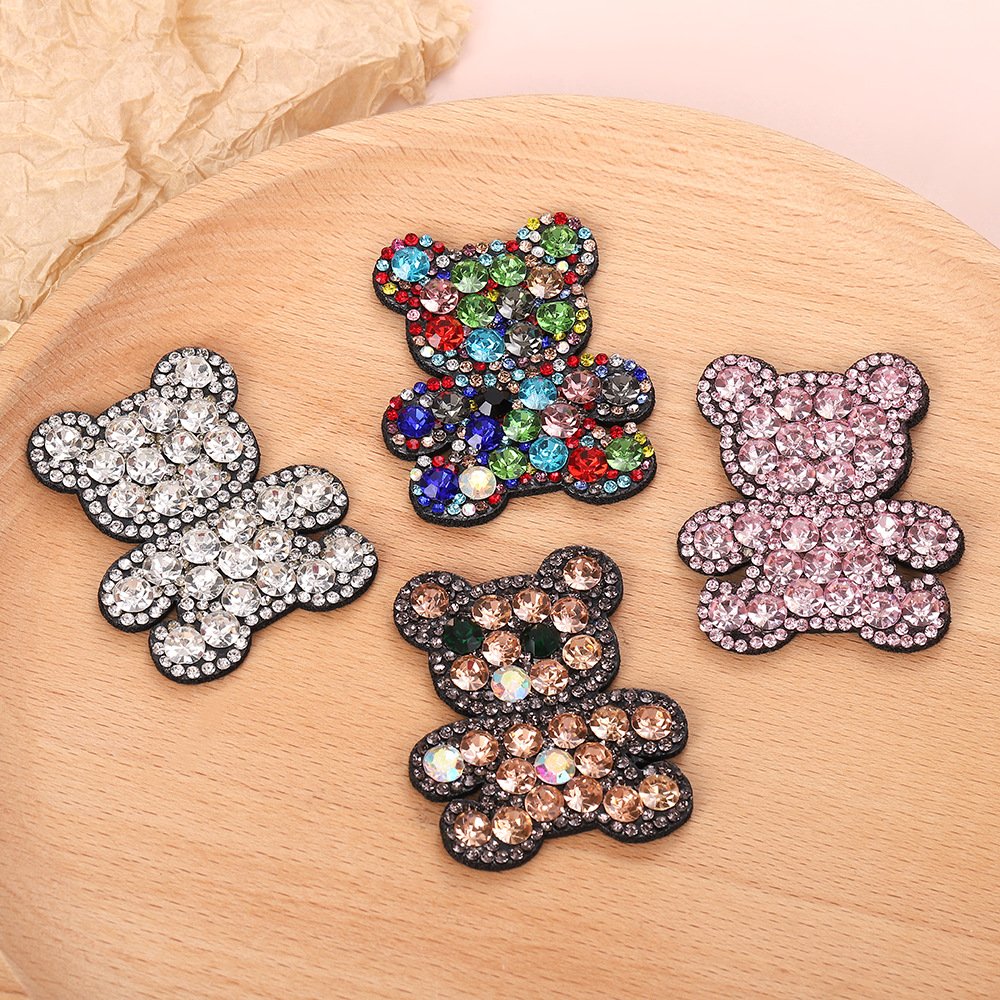

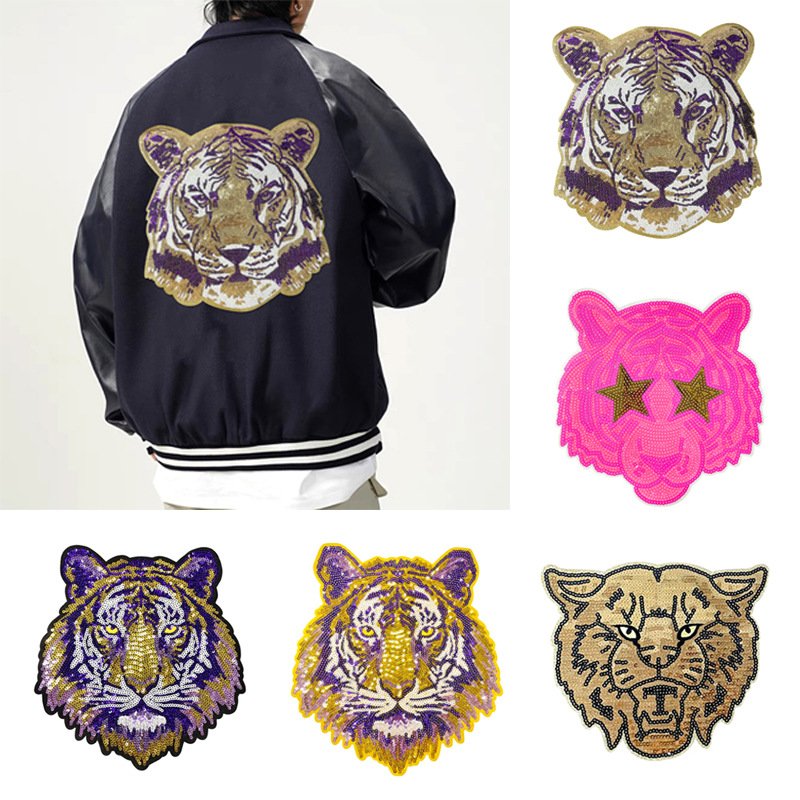
Common uses
Sleeve accent, cap placement, bag trim, pocket detail
Fine lettering and small counters approach resolution limits. Confirm minimum line width.
Common uses
Chest logo, sleeve badge, hat front, jacket chest
Most versatile size range. Standard thread density applies. Legibility well within range.
Common uses
Back yoke accent, front panel feature, bag decoration
Backing and edge construction become important for drape and garment hand feel.
Common uses
Back panel statement, bag feature, jacket back accent
Weight increases significantly. Confirm backing weight and attachment method for the receiving garment.
Size ranges above are orientation only. The correct size for any program is determined by the confirmed placement, garment, and approved sample — not by a category label.
Name the exact garment area. Measure the available flat area around seams, pockets, and hardware.
The maximum size is defined by the placement zone — not by what looks proportional on a flat render.
At the maximum or chosen size, confirm that the artwork can be resolved in embroidery thread with acceptable legibility.
Stitch a sample at the chosen dimensions, attach it at the intended garment position, and inspect lettering and edge clearance in hand.
Embroidered patch dimensions are typically expressed as width × height at the finished sewn or pressed size, not including any backing or edge trim extension. State the finished size in the brief, confirm it against the receiving garment, and approve it on the sample before bulk production.
Yes. At small sizes (under 2 inches), fine lettering, thin lines, and small counters can become difficult to resolve in embroidery thread. At larger sizes (over 4 inches), stitch count increases and the backing and edge construction must be planned accordingly.
Scaling a patch design to a different size usually requires a new digitizing step — the stitch density, thread coverage, and legibility must be re-evaluated at each size. Submit each size as a separate specification for review.
Recorded catalog references include TB-D55470503F66 at 2.1 × 2.1 in (compact logo) and TB-5A1B0AF85E24 at 9.92 × 8.82 in (large mixed decoration). These represent the recorded range of existing items — custom sizes require individual feasibility review.
Fine lettering and small counters approach resolution limits. Confirm minimum line width.
Most versatile size range. Standard thread density applies. Legibility well within range.
Backing and edge construction become important for drape and garment hand feel.
Weight increases significantly. Confirm backing weight and attachment method for the receiving garment.
Name the exact garment area. Measure the available flat area around seams, pockets, and hardware.
The maximum size is defined by the placement zone — not by what looks proportional on a flat render.
Send placement zone, garment, artwork, and quantity. The sample confirms size, detail, and finish.