Reflective label sourcing

Reflective Heat Transfer Labels: Design and Evidence

Specify reflective transfer labels with artwork contrast, placement, lighting review, garment trials, and claim evidence.

Buyer perspective

A reflective finish has a different appearance in ordinary and directed light. That design effect should be assessed on the real garment before anyone describes the label as a safety component. Buyers need a controlled sample, a placement drawing, and separate evidence for any regulated performance statement.

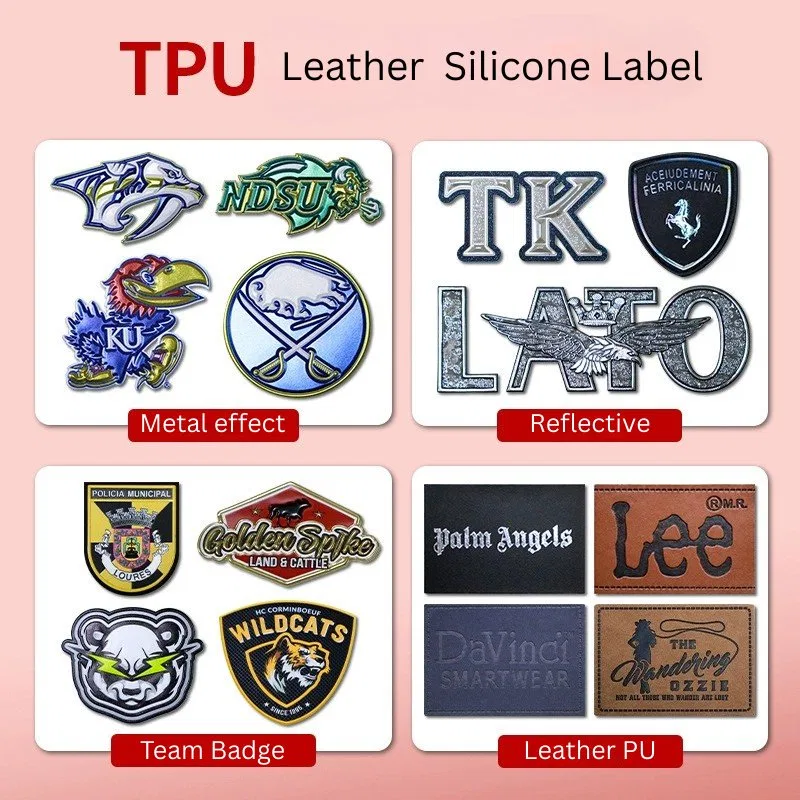
Mixed label sample board including reflective logo examples
Product reference image; confirm your own artwork, material, and placement in a sample.

What to decide

Build a brief that can be tested

Decision lens 01

Proof both appearances

Provide final-size artwork and note fine lettering or thin borders. Inspect the applied label on the production fabric in ambient light and under a repeatable directed-light setup. Record the viewing angle and exposure used for photographs so candidates can be compared fairly.

Decision lens 02

Test the garment interface

Check fabric finish, color, stretch, seam proximity, and application access. Trial the proposed transfer process and inspect surface, edge, and legibility after relevant care. A reflective sample on a rigid board does not establish how it behaves on the specified clothing.

Decision lens 03

Separate decoration from compliance

If the garment has a visibility or protective function, identify the applicable requirement and responsible specialist. Request product-specific test documentation before publishing a standard or performance claim. Keep that evidence distinct from the visual sample approval.

Sample protocol

Record two lighting states

The same reflective mark has a normal appearance and a directed-light appearance. Test both on the garment and preserve the setup so a second candidate can be compared without changing the light or camera conditions.

  1. STEP 1

    Ambient

    Inspect text, color, and edge on the actual fabric without flash at the expected viewing distance.

  2. STEP 2

    Directed

    Record light position, viewing angle, and exposure; photograph the applied mark under the same setup used for alternatives.

  3. STEP 3

    After care

    Repeat observations after the garment-specific trial and note any surface or attachment change separately from brightness.

This comparison documents a decorative effect; a safety or standards claim requires independent product-specific testing.

Bring to the inquiry

  • Artwork and physical dimensions
  • Ambient and directed-light photos
  • Applied garment trial
  • Evidence owner for any regulated claim
Wholesale Inquiry

Request a Bulk Quote

Send your artwork, quantity, destination, and specifications for a tailored quote.

By submitting, you agree to our privacy policy.