Visible on the face
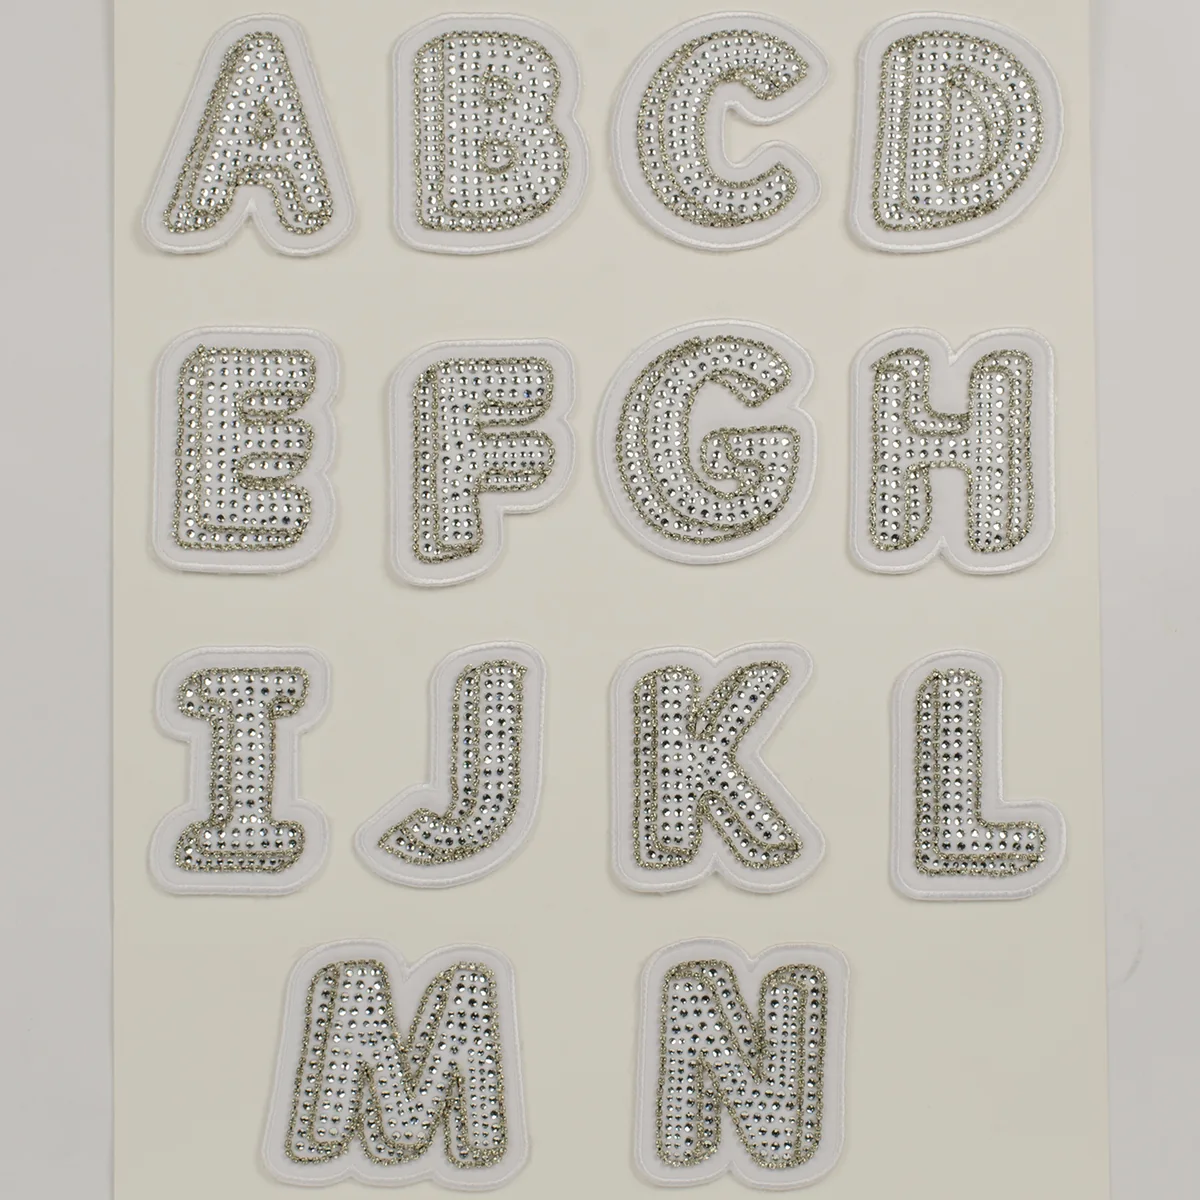
- A through N appear on the photographed sheet.
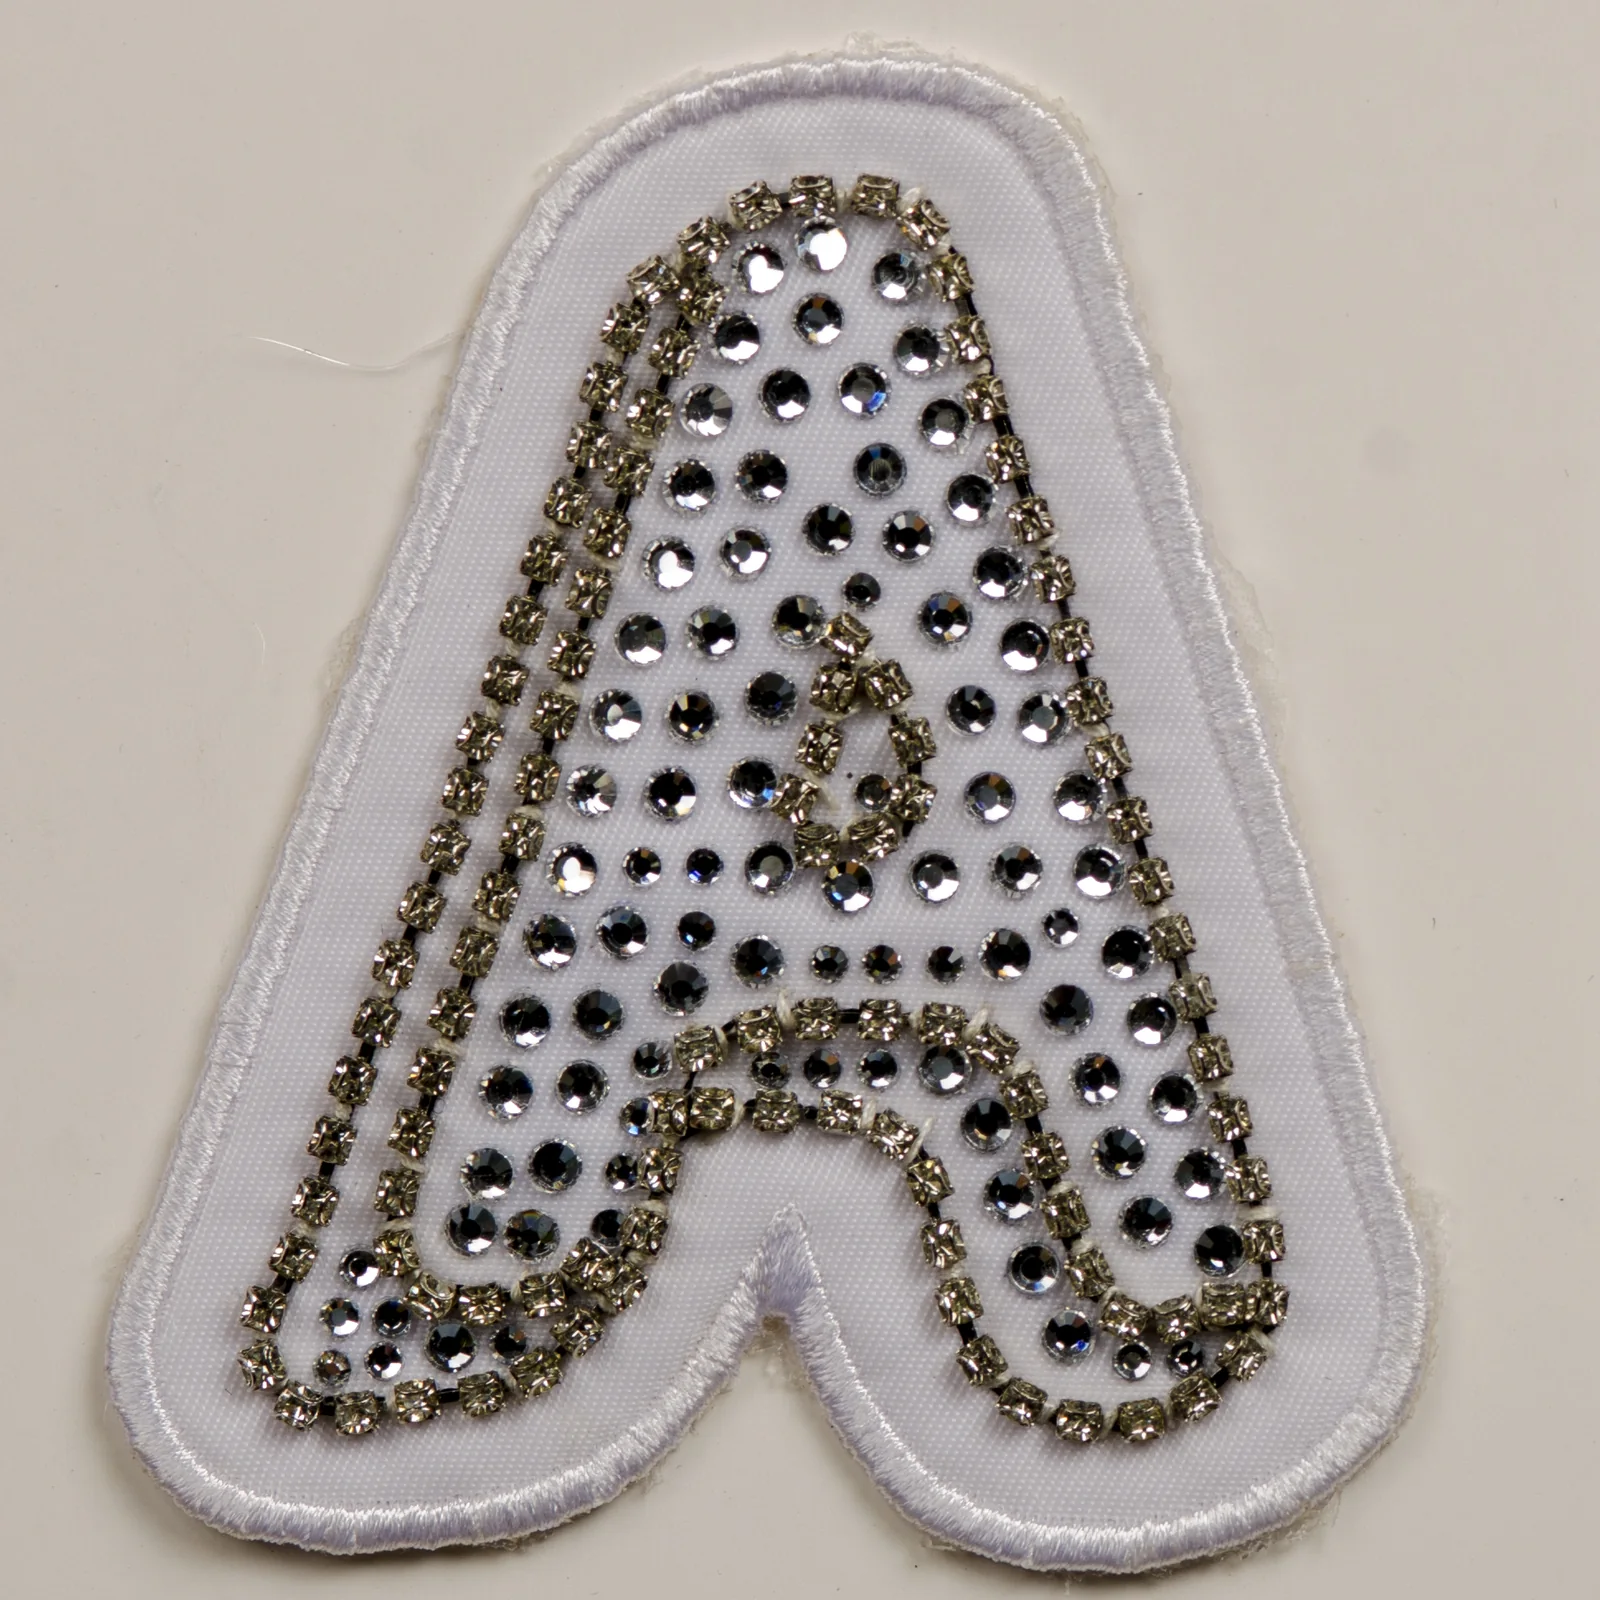
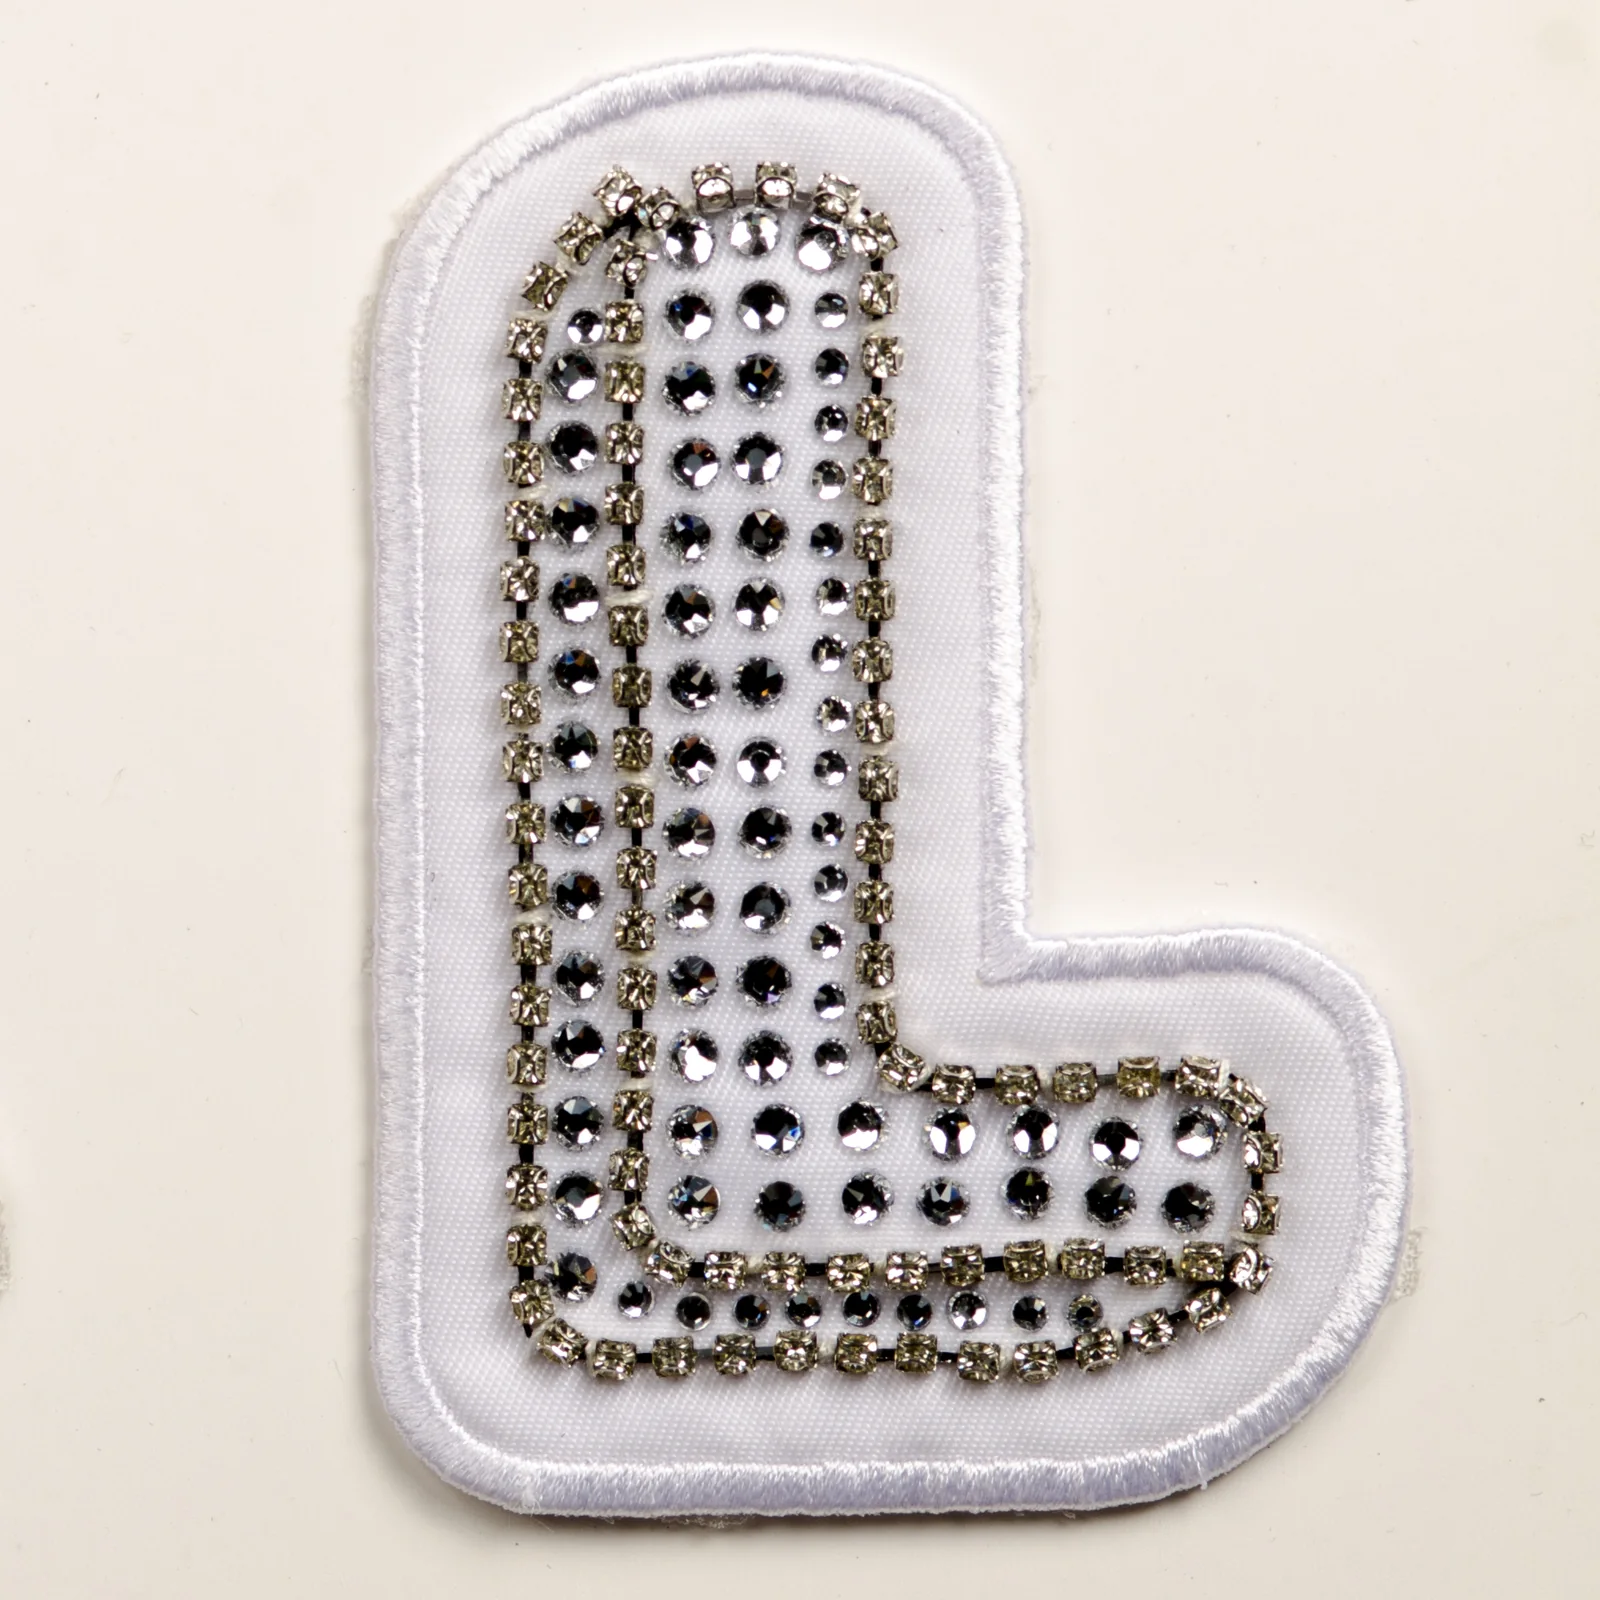
- Clear crystals fill the white letters inside a raised embroidered border.
- Individual A and L views allow a closer look at two edge shapes.
Sewn letter program · LCH-NP-ALP-06
These white letters carry a dense clear-crystal face inside a broad embroidered rim. That rim is where the attachment brief begins: approve a needle path that does not invade the stones, and ask to see any character the provided A–N photo does not show.
Evidence boundary
A close-up can show where embroidery ends and the crystal field begins. It cannot prove that your sewing machine, lining, or garment curve will accept that path. Trial the exact character on the intended article before releasing the rest.
Production release
Give the exact characters and counts. For O–Z, ask to see that character rather than extrapolating from A–N.
Name the receiving fabric and approve one sewn sample from front and reverse.
File the signed sample, dimensions, and quantity list with the quote. Current MOQ: 50 pieces; terms for the exact assortment are confirmed in writing.
Finished-article trial
Check whether the embroidered rim remains even and the clear stones stay outside the needle path after sewing a sample A or L to the actual article.
Look for reachable stitching, lining interference and any puckering. A face-only photograph cannot settle how the attachment behaves on this garment construction.
Keep both views with the agreed stitch path and letter dimensions. Any care trial should use the completed article rather than the loose patch alone.
Sew-on order brief
Tell us which A–Z characters you need, including those not pictured, plus the receiving garment and proposed placement. Current MOQ is 50 pieces; the usable assortment and attachment details are confirmed in a written quote.
No. The supplied alphabet photograph shows A through N, with separate close-ups of A and L. Request images or a physical sample of any other characters you need before they enter an approved bulk order.
The sample should leave a clear, accessible textile border outside the crystal field. Agree the stitch path on the real receiving item; do not sew through stones or assume the photographed front reveals the reverse construction.
The answer depends on needle access, fabric weight, stretch, lining and the finished use. Trial one approved character on the intended article and inspect the reverse as well as the front.