Footwear accessory sourcing

Rhinestone Shoelaces: Fit and Pair Planning

Specify rhinestone shoelaces by actual shoe length, lace and tip construction, eyelet fit, flex handling, and paired retail packing.

Buyer perspective

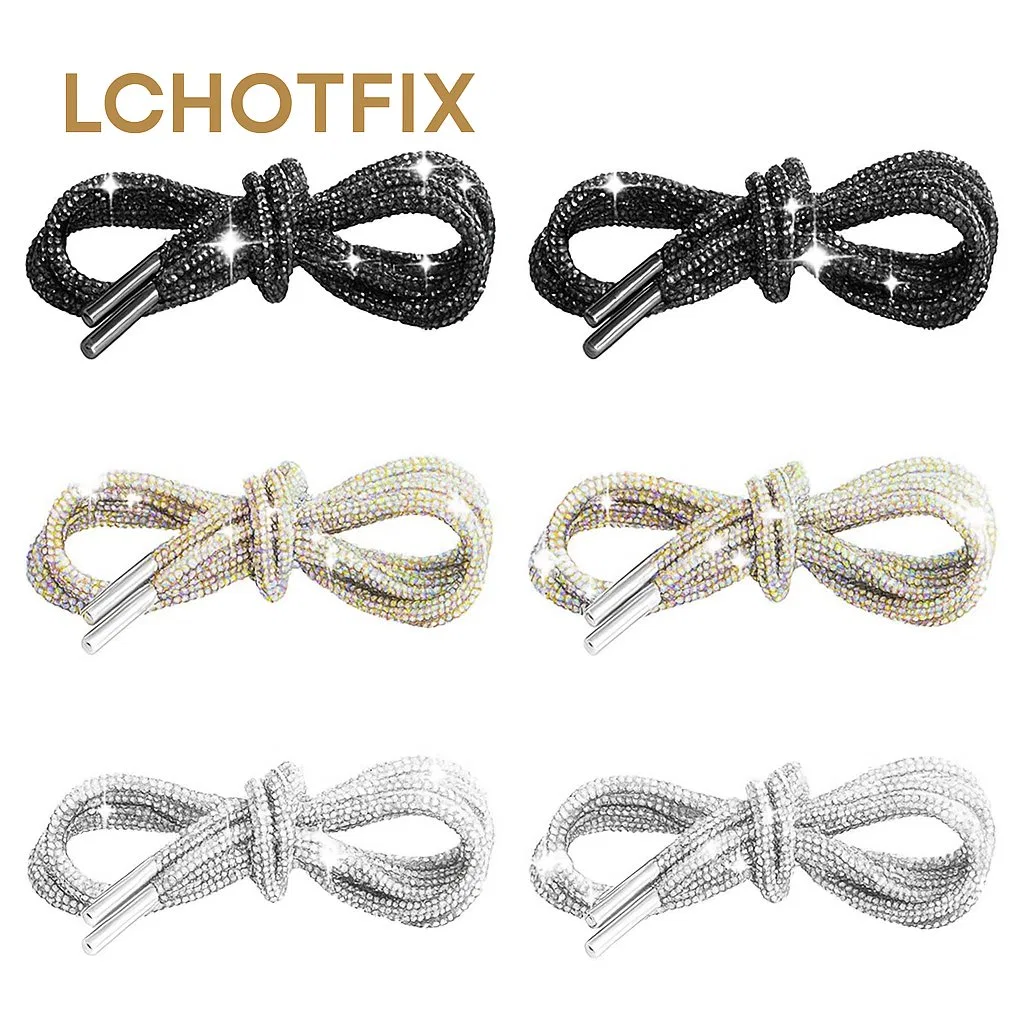
A sparkling shoelace can be attractive in a product photo and still be too bulky for the chosen eyelets or too short for the required lacing path. The pictured tube-style examples show appearance only. Determine length and fit from the actual shoe, then verify the quoted lace and tip construction.

Loose rhinestone tube-style shoelace examples with finished tips; shoe fit requires a separate trial
Product reference image; confirm your own artwork, material, and placement in a sample.

What to decide

Build a brief that can be tested

01Evidence file

Start with the shoe

Record eyelet count, opening size, desired lacing pattern, and the length of the existing working lace. Try a sample through the exact shoe and check both sides after tying. Do not assign one catalog length to every sneaker or boot.

02Evidence file

Inspect the flexible assembly

Check decorative face, bends between eyelets, end tips, and any points that snag while threading. Ask for written construction details and compare samples after ordinary lacing and walking movement, without assuming a static product photo predicts wear.

03Evidence file

Sell complete pairs

Set color and length codes and count two matching laces per pair. Define how they are restrained in retail packing without crushing the stones. Keep the accepted shoe-and-lace combination as the fit reference.

Sample protocol

Test one lace pair in its actual shoe

An embellished lace can look complete in a product image while proving too bulky for a particular eyelet or too short for the desired knot. The purchase unit is a matched pair that must function in a target shoe, not a single decorated strand.

  1. STEP 1

    Fit pass

    Thread both laces through the intended eyelets. Note usable length after lacing, tip clearance, friction at narrow holes, and whether the decorated tube or stones interfere with tightening.

  2. STEP 2

    Pair inspection

    Compare color, embellishment coverage, end finish, and left-right consistency. Check whether both laces are labeled and packed as one pair rather than as separate loose pieces.

  3. STEP 3

    Handling trial

    Tie, untie, and move the shoe as a wearer would. Inspect for snagging or decoration shift and record the shoe model and lace length used; another shoe may require a new trial.

Approve the paired laces while installed in the actual shoe configuration that will be sold.

Bring to the inquiry

  • Exact shoe and lacing path
  • Quoted lace and tip construction
  • Laced pair trial
  • Length-color pair packing
Wholesale Inquiry

Request a Bulk Quote

Send your artwork, quantity, destination, and specifications for a tailored quote.

By submitting, you agree to our privacy policy.