Rhinestone Keychain Hardware Selection
Choose rhinestone keychain hardware by target attachment, clasp opening, full hang, handling, finish, and pack protection.
Buyer perspective
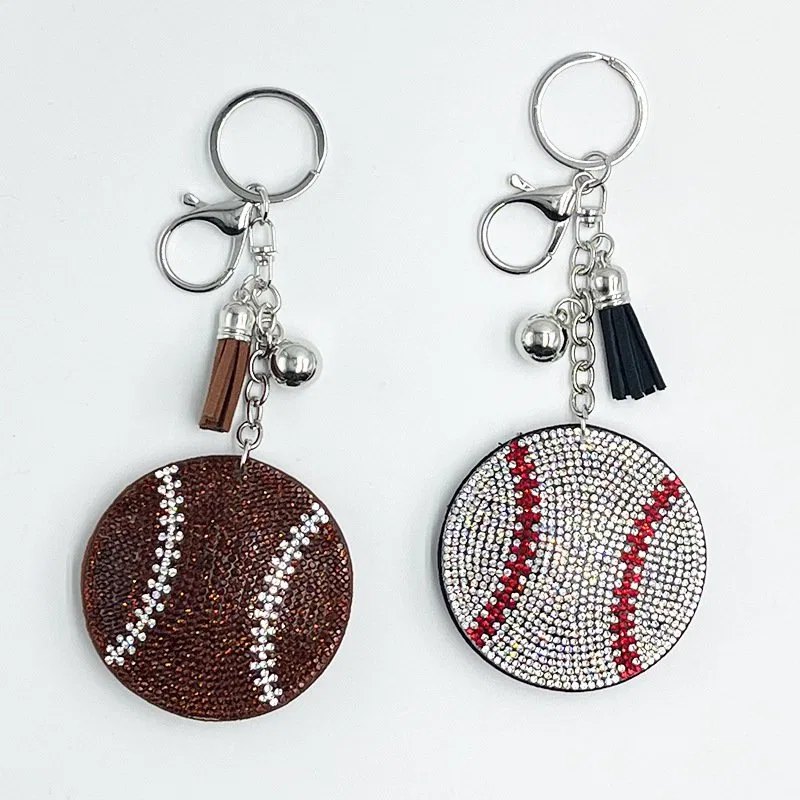
The decorated charm is only one part of a keychain. Ring, clasp, chain, and connector determine whether it fits the target bag or keys and how it hangs in use. The photographed baseball charm shows one assembled format; ask for the exact quoted hardware rather than assuming all styles share it.
What to decide
Build a brief that can be tested
- 1
Route checkpoint
Name the attachment point
Measure the target key ring, bag loop, zipper pull, or strap and the clearance needed to open the clasp. Decide whether the item is a keychain, a removable bag charm, or both. Do not call one fitting universal.
- 2
Route checkpoint
Measure the whole assembly
Record clasp opening, connector type, chain length, decorative body, and total drop. Carry it on the intended object and inspect rotation, swing, and contact with the bag surface. A body-only catalog dimension misses these effects.
- 3
Route checkpoint
Inspect components and packing
Operate the hardware repeatedly on a sample and review finish, closures, sharp edges, and connection points. Define protective packing that prevents metal parts from scratching raised stones or tangling with other units.
Sample protocol
Retest a hardware substitution on the actual bag
A keychain supplier proposes a replacement clasp because the photographed option is unavailable. The charm body and stones stay the same, but fit and hang may change. Treat the substitution as a new connection test rather than a cosmetic swap.
- STEP 1
Fit
Measure usable clasp opening and target loop thickness. Attach and remove the sample on the intended bag or key set several times, checking closure and finger access.
- STEP 2
Hang
Compare total drop, rotation, and contact with the bag surface or zipper during carrying. A longer connector may create rubbing even when the clasp fits.
- STEP 3
Finish and packing
Inspect connection points and finish on the assembled piece. Pack it as proposed and check that metal parts do not scrape raised stones or entangle neighboring charms.
Approve the substituted hardware as a complete assembled accessory before updating the item code or reorder specification.
Bring to the inquiry
- Target attachment dimensions
- Full assembly measurements
- Hardware and finish sample
- Handling and packing review
Request a Bulk Quote
Send your artwork, quantity, destination, and specifications for a tailored quote.